 Board Designer
How to use Board Designer
You design a board on the left and see it on the right. When it looks right, you open the shop sheet: what to buy, the cut list and the steps. These pages walk you through each part. Sections marked Pro are in Board Designer Pro.
The first five minutes
- Open the app. The first time, it asks whether you work in inches or millimetres, and your currency symbol. You can change both later in Settings.
- You start with an end-grain checkerboard. Change its woods, its size or its pattern in the panel on the left; the picture follows.
- Click New board to pick another starter from the gallery: stripes, brick, chevron, herringbone, starburst and more.
- Click Shop sheet at the top. You see what to buy, the cut list and numbered build steps. Print it, or save it as a PDF.
- Click Save to keep a board as a file you can open on any computer.
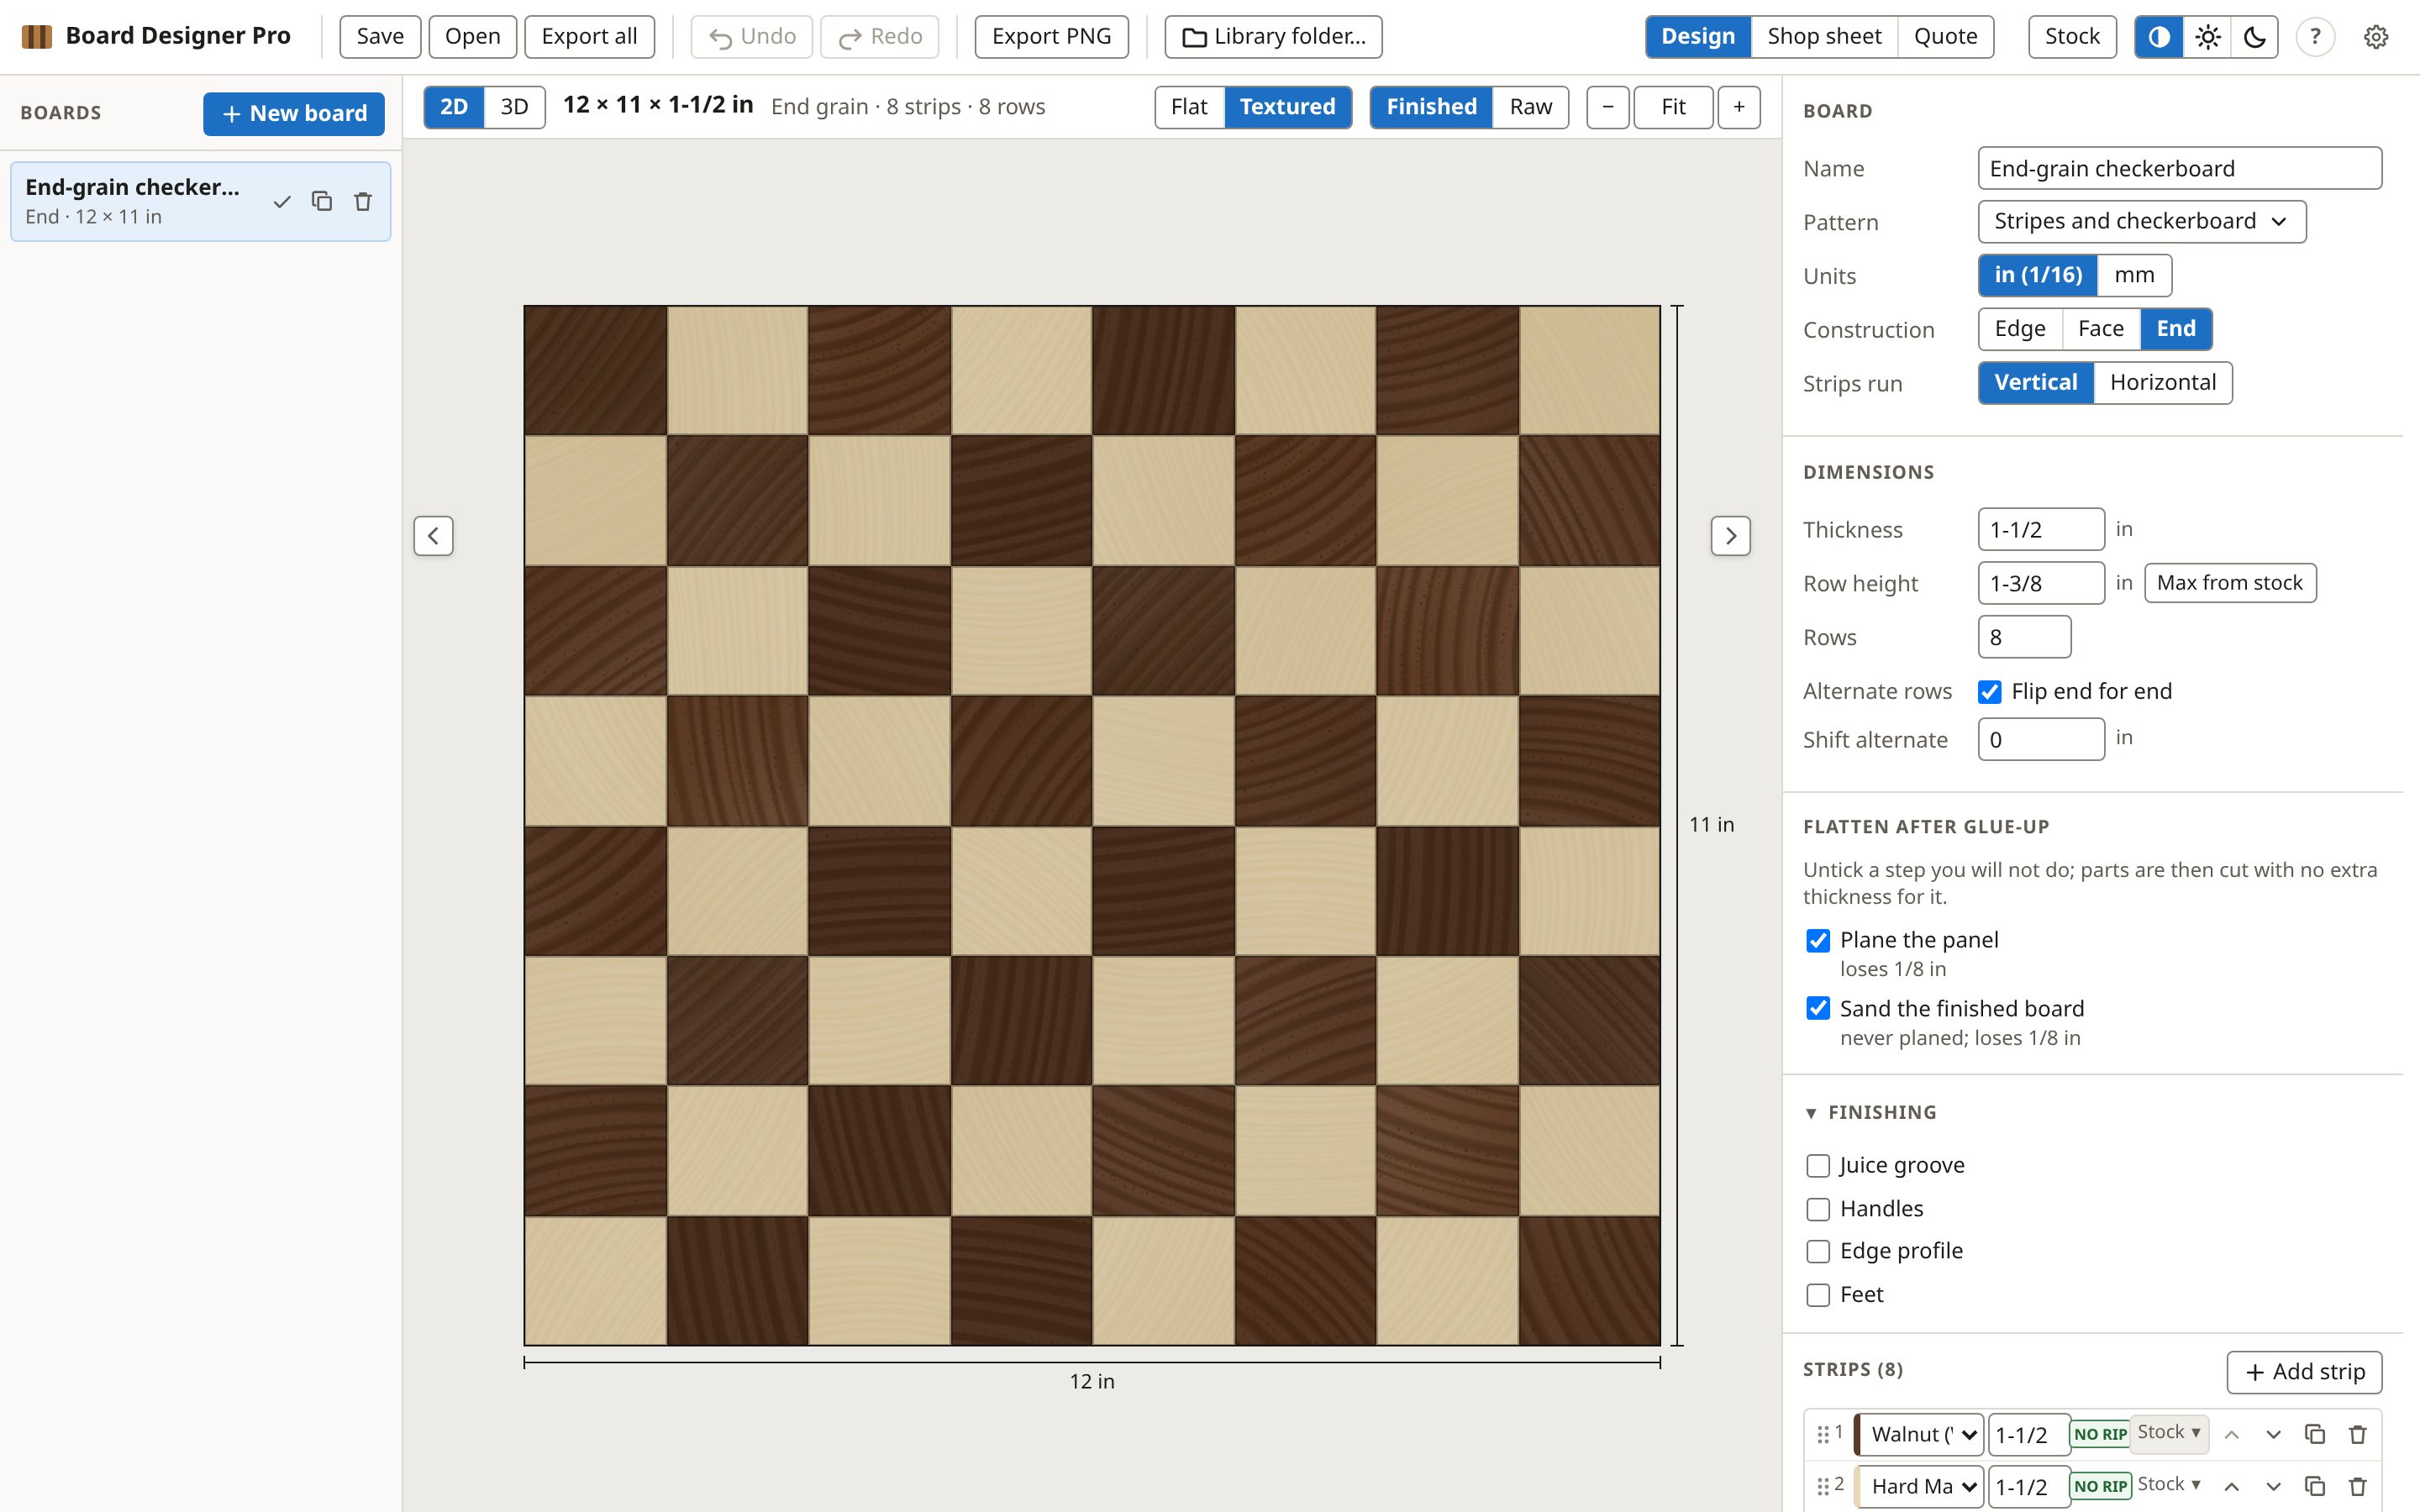
The three views of a design
- Design: the board, its strips or pattern, its size and its stock.
- Shop sheet: everything you need at the bench, ready to print.
- Quote Pro: what the board costs you and what to charge.
In Pro, Stock stands beside them: your shelf, your orders and their reports, for all your boards at once.